BY BARGE, SAILBOAT, CAMEL, HORSE OR BIKE!         
Noel & Jackie's Journeys
  • Our Travels
  • About Us
  • Our Books
  • Gift Store
  • Contact
  • Travel Photos

Fitting An Aries Windvane

5/24/2018

0 Comments


Steering By A Star

I suspect that if it is your personal aphrodisiac to hand steer, you sail for short periods. Connecting with nature through steering gear is admirable. From time to time I like to hand steer... out of port. Once clear of land Roy takes over. Roy is our Aries wind vane, named after my dad who assisted Noel in scraping off the decades of salt, lubricating, and fitting new bearings; allowing the $US300 ($AUS347) seized Aries to flex his muscles and get to work.
 
While Roy attended fittings, fellow cruisers tossed a few skeptical looks our way, which we refused to catch. “You think the Aries will steer a 51’ boat?” Admittedly, a Toredo of doubt had wormed its way into my thoughts. The enigma compounding these concerns was connecting the Aries to hydraulic steering and operating the vane from the centre cockpit.

Picture
With Roy fully limbered up, Dad and Noel measured up the required Aries support frame out of tubing. Then Noel and I commenced search by phone and many miles on pushbikes to find a fabricator to help fabricate the frame. A week later we changed tack and embarked on an oratorical fiesta searching for an electric welder large enough to handle our proposed projects and small enough to afford (in both dollars and power) and stow.
 
Noel had pondered the problems of the cockpit position and hydraulics and dialled up his ingenuity. Many moments I caught him gazing at the back of the boat trying to join the dots and ultimately creating an interesting overture. After many hours of internet searching, hoping someone had simply written up the answer, it seemed the emergency steering was the way to go. It meant much welding; weighing up the cost of paying a fabricator and buying a welder resulted in a new crew member in the form of an 110v/240v arc welder.

 
Picture
With my dad, Roy.
Onboard Pyewacket II, the design of the emergency steering places the helmsman in the aft cabin, standing in a dark room, staring at him/herself in the full-length mirror; the only visibility to the outside world being the side and rear port holes. The rudder stock is directly below the stairs that leads to the boot (aft cockpit), which is the reason for the obscure positioning of the helmsman. Above the stairs is a hatch. To connect the Aries to the rudder stock we had to extend the length of the rudder stock up through the stairs and through the hatch and to this extension fabricate a ‘wind vane tiller’. We also had to find a way to quickly and easily turn the by-pass valve, to by-pass the hydraulic steering.
Picture
Picture
Holes were drilled into the hatch to allow an extension from the rudder stock up to the aft cockpit, leaving the sliding door closed (or open if we wished). Noel welded the emergency tiller arm onto the wind vane tiller (that in turn, was bolted onto the extended rudder stock). The emergency tiller is at an angle to allow us to stand on the seat in the aft cockpit. This gives us a much better view of the entire boat. Our last boat was tiller steered, but this is not quite the same. The emergency tiller on Pyewacket II runs aft, instead of forward, it is, in effect, backwards. So, to steer to starboard we push the tiller to starboard. Despite a little bit of wandering during practice, we’ve finally nailed it and are chuffed to have this steering available should the main hydraulic steering decide to opt for early retirement.
 
The Aries can easily be attached to the ‘wind vane tiller’. The ropes that run from the Aries are attached to chains, which in turn, slip over the tabs welded on the arms of the wind vane tiller. It is recommended that where the Aries ropes connect to the tiller in use, they should be 600-900mm from the rudder stock. The distance on our set up is only 450mm, in order to clear the life raft. Adding a block roved to advantage on each line has halved the effort and in effect, lengthened the tiller.

 
Picture
The lines to adjust the Aries (directionally) run into the centre cockpit, so changing course is simple. The by-pass valve was not so simple. Flaunting its conceptual imperfections sitting under the aft cabin stairs is the hydraulic by-pass valve and relief valve. All hydraulic systems incorporate these two valves. The relief valve comes into action if the rudder is put under an unexpected load, for example being hit by a large wave or a grounding. The by-pass valve is just that, to bypass the hydraulics and must therefore be utilised when using the emergency tiller steering (and, in our case, the Aries). To add to the complexity, once the emergency tiller is in place we cannot lift up the stairs (to access the valve) without a complete dismantle of the system. Also, the by-pass valve neatly sits under the hydraulic hoses. Enter: remote spindle. Noel made a kind of crankshaft to go around the hydraulic hose obstacles, drilled another hole in the stairs and hatch and created a remote spindle to turn the hydraulic by-pass on and off. This we can operate from both cockpits. I tell Noel I think he is a genius; he simply shrugs his shoulders and says he is not the first to do this. It is the first contraption of this type I have seen and I am impressed. It means I can sit and write (as I am doing right now) while Roy merrily steers our course (Noel is currently tinkering with a dickey regulator), any adjustments are just an arm stretch away.
Picture
As with most operational systems onboard there is a compromise. Catching a fish and hauling it in the aft cockpit does now require a certain amount of limbo dancing and partaking in a boat ‘twister’ game. Successful cruising is about finding a solution and accepting compromise. Whether cleaning dishes in a storm, reefing the main downwind or connecting conventional self-steering to an unconventional set up. We are fortunate to have an aft cockpit where all the lines are situated, out of the way (mostly) but easily accessible. We are happy ‘wackets’ with hands free steering to pee and make tea at will.
​
Incidentally, the worm of doubt turned into fish bait.  So far, we have successfully tested Roy in 8 to 40 knots of apparent wind. We are in no hurry to try him out in stronger winds and we are confident he will cope admirably as the Aries generally works better in stronger winds.
 
So, now we steer by a star as the romantics prefer. However, our ‘star’ is the wonderful Roy.

0 Comments

Delicious, Low Fat, Pumpkin Cheesecake

5/13/2018

0 Comments

 
I can't confirm how much fat it in this - but compared to others, not much. And you can improve on that if you want.

Here's the recipe I, sort of, followed.


I't s pretty good, but a few weeks ago I used a different recipe which, I think, was better, but I can't find it now! This one is very close though and I made a few, minor adjustments. Below I've detailed the adjustments:
Picture
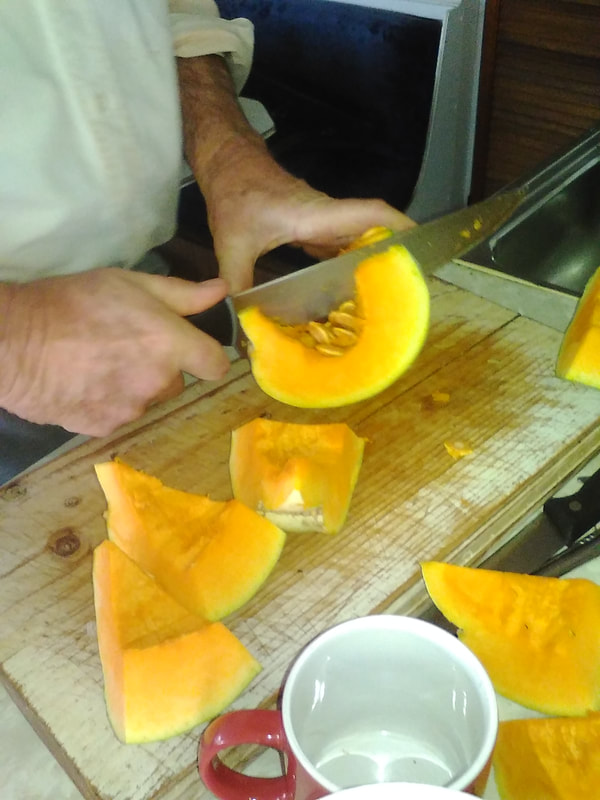
First, ask husband to cut pumpkin, I am dangerous with a knife.

I used about three-quarters of a medium sized pumpkin as my cheese cake tin is large and I made some smaller ones too (and I think pumpkin should be the main ingredients in a pumpkin cheesecake, not just there for show).
Picture
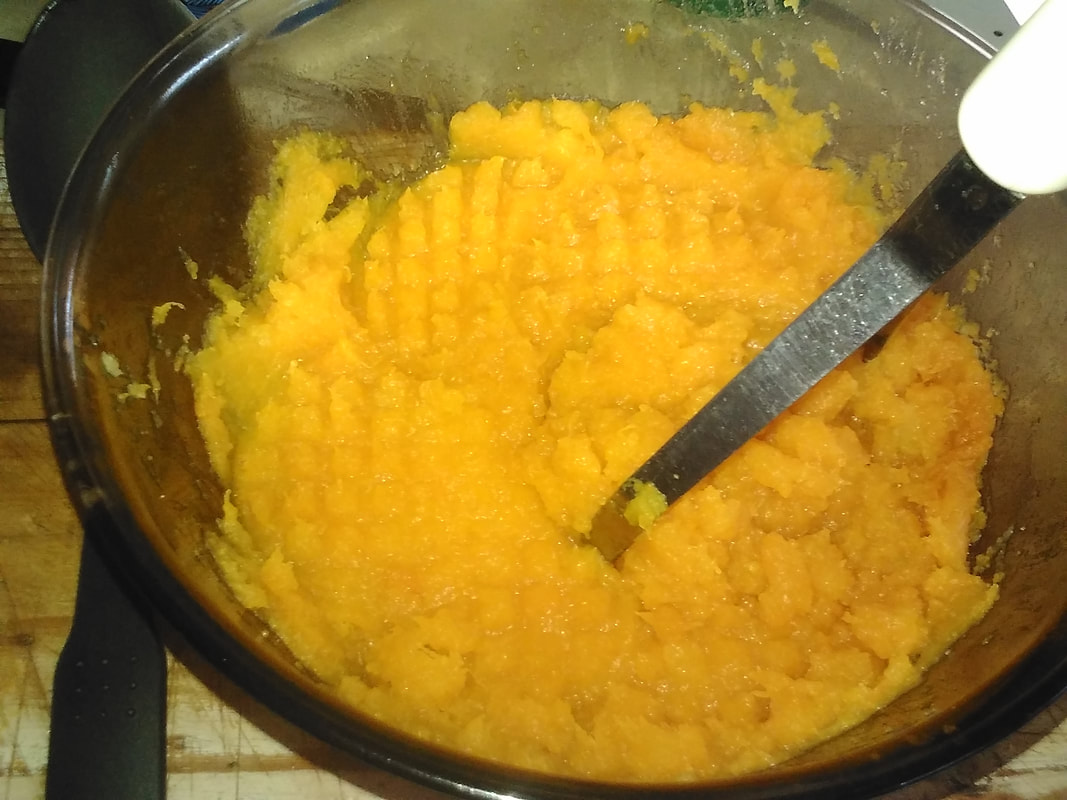
Next cooked the pumpkin and mash it up. 
Picture
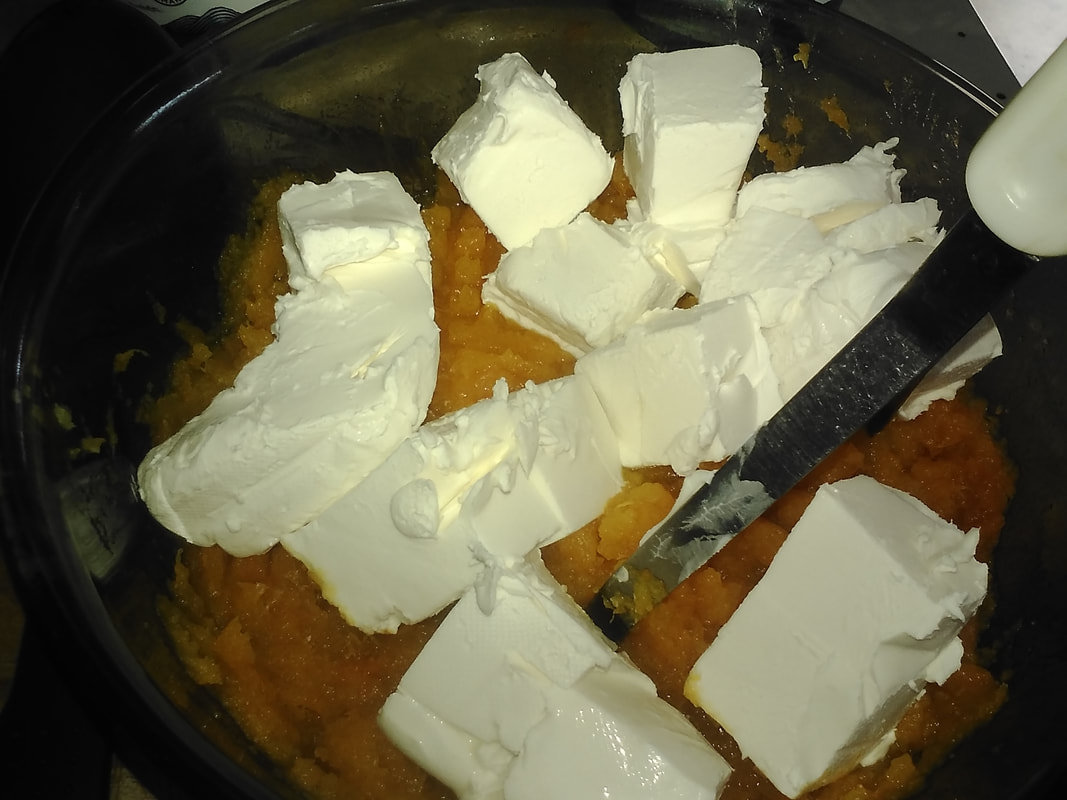
Add the cream cheese. I used full-fat, so you can use low fat to save some calories. This recipe said 2 x 8 oz blocks, which I used. The recipe I used previously (which I've lost), I am sure, used only one block - and that cheesecake was slightly better. However, because I have no memory and can't remember exactly what I did before, I put two in this time.
Picture
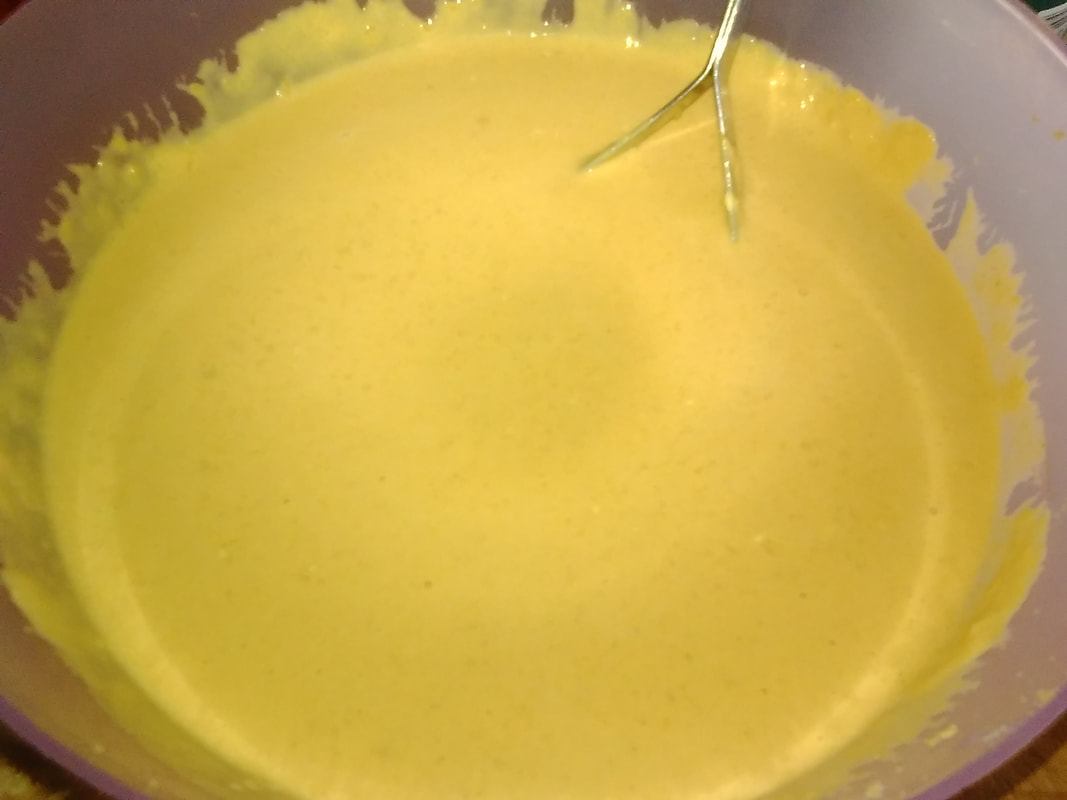
So this is the pumpkin cream cheese, sugar. I used half a cup of dark brown sugar, not a whole cup, it was still sweet, I could have used less in fact. I added a tiny bit of cinnamon and nutmeg, I only like a whisper of these flavours, so just a sprinkle of each. I also put in 6 eggs, as that is what the previous recipe called for and I felt rebellious.
Picture
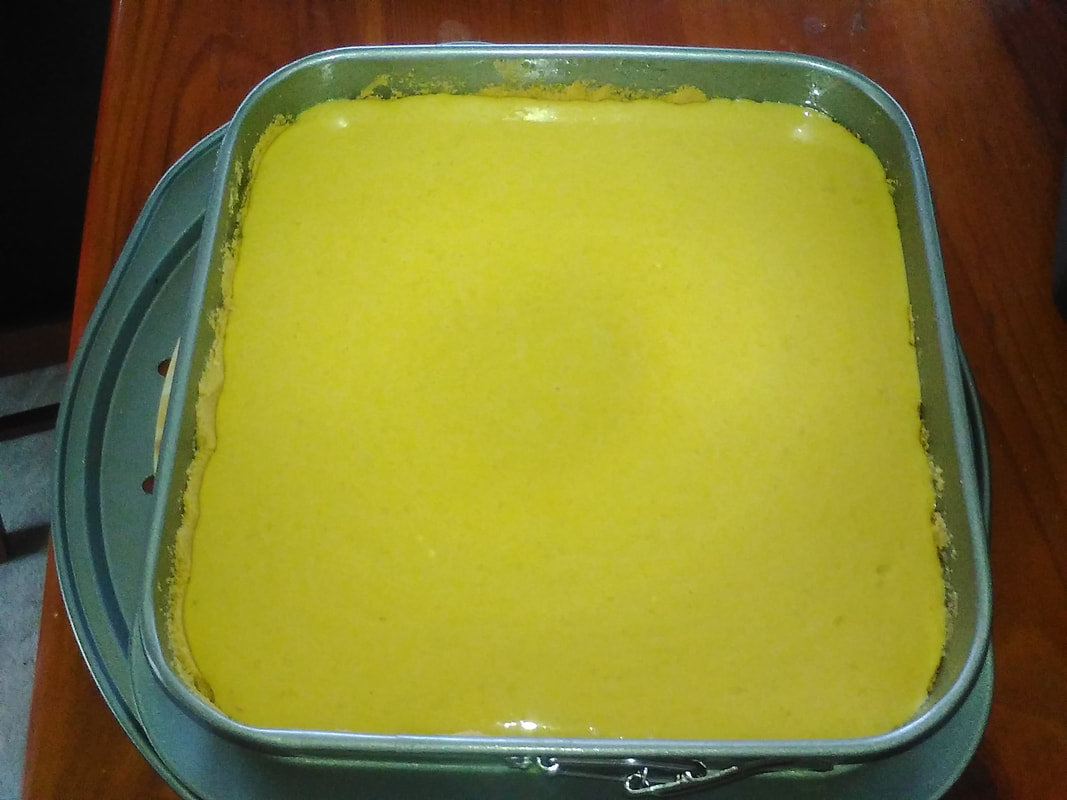
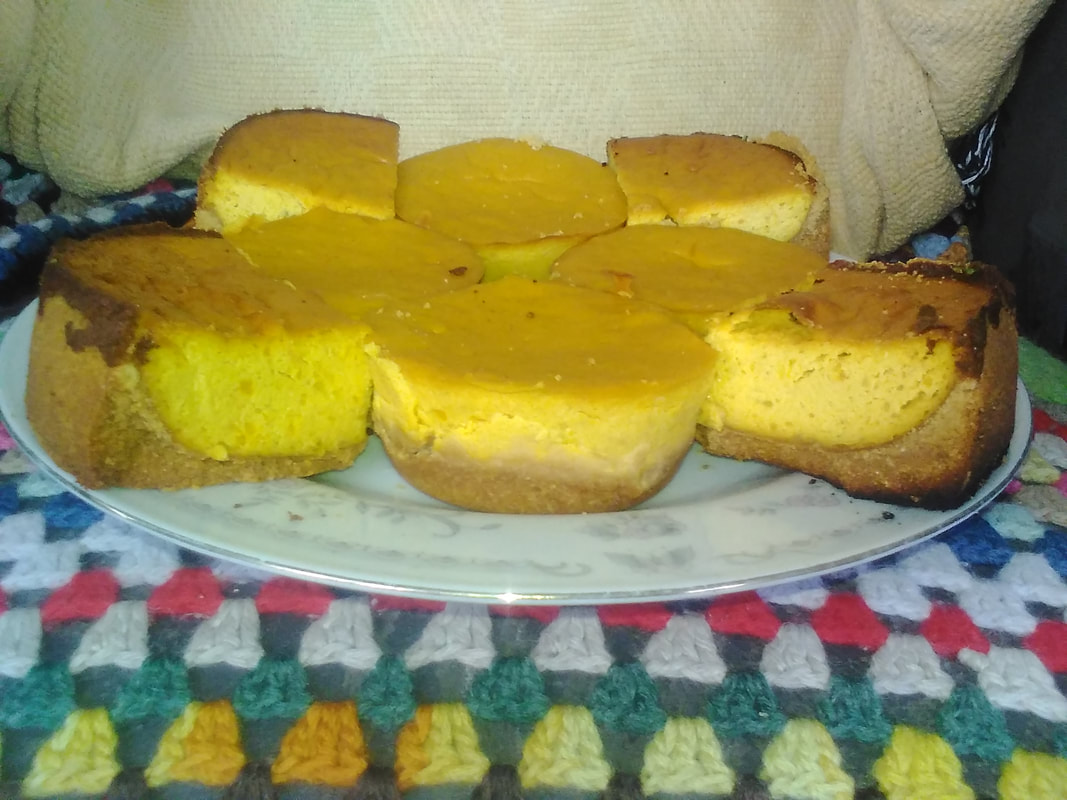
See, this is why I don't write recipe books. Here's the mixture in the pan. Below the mixture is the base. I used plain old shredded wheatmeal biscuits which are not at all sweet, and I threw in about half of ginger nuts which are very sweet. I blended them into crumbs - (that was a laugh, Noel was working at his desk and if you don't know, we currently live in a shoe-box, literally, and I had to traipse out to the barn to do the blending - making a cheesecake is, I found out, a noisy process).  I followed the recipe for the base, but used a third less butter. And didn't add any additional flavouring.
Picture
Picture
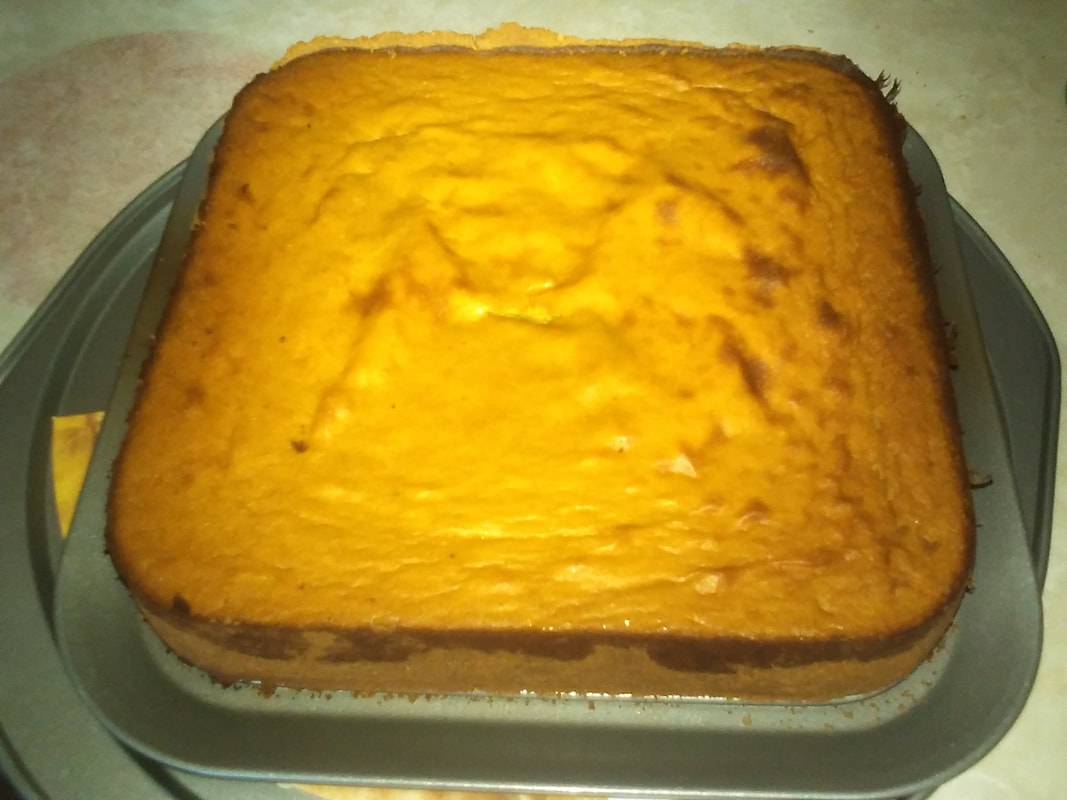
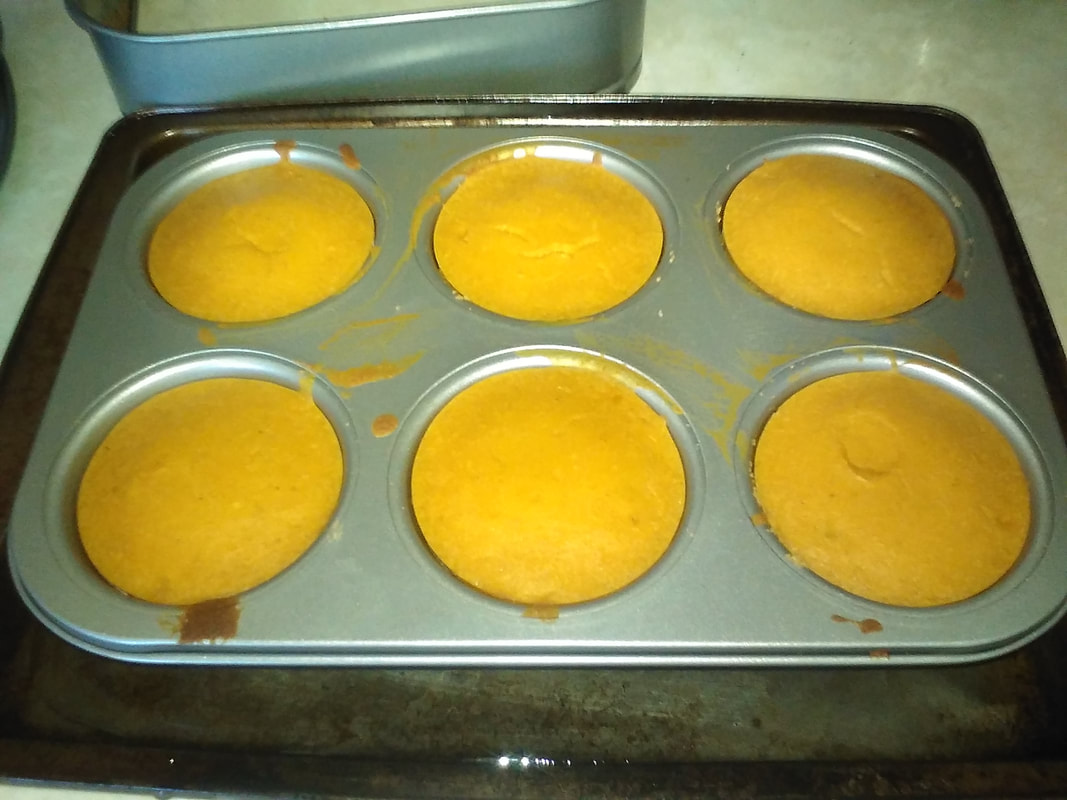
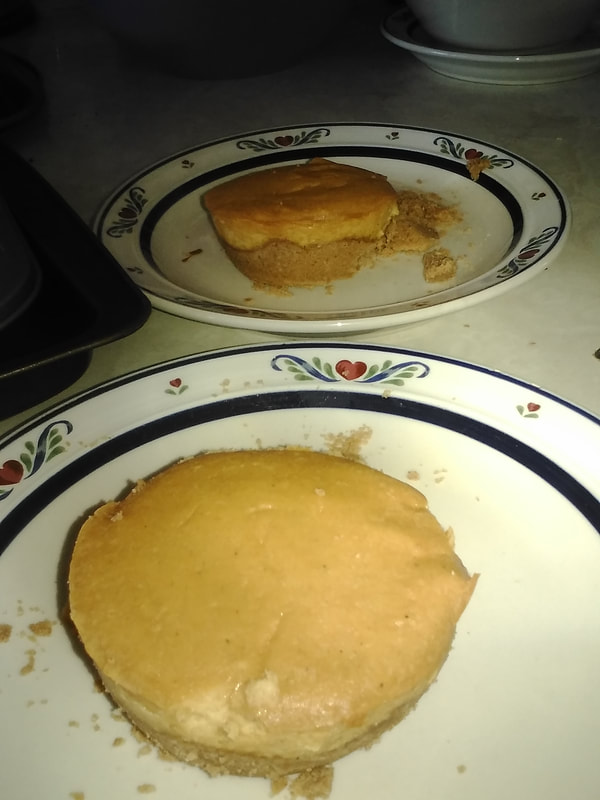
(Yes, bottom right, that's my finger print!) I made a large square cake and 6 small ones. They took about 1 hour and 10 mins to bake. BUT I am working in a "kitchen" that is not big enough to swing a mouse, let alone a cat - and I am working with a camping oven that is more dodgy than the dodgems. Round of applause please!
Yum! In these confined quarters I am also running a publishing business, with my business partner Shelley Wright. Take a look: Success, Failures, and Fun! We do have a lot of fun!
0 Comments
    Picture
    Follow us on FB to
    receive new blog posts 

    Further Reading

    Read more on our sailing, horse, barge and bike escapades here

    Picture
    Picture
    Picture
    Picture
    Picture

    Archives

    October 2019
    August 2019
    June 2019
    December 2018
    November 2018
    October 2018
    August 2018
    July 2018
    May 2018
    February 2018
    January 2018
    October 2017
    September 2017
    August 2017
    July 2017
    June 2017
    May 2017
    April 2017
    March 2017
    February 2017
    January 2017
    December 2016
    October 2016
    September 2016
    August 2016
    July 2016
    June 2016
    May 2016
    April 2016
    March 2016
    February 2016
    January 2016
    December 2015
    November 2015
    October 2015
    September 2015
    August 2015
    July 2015
    June 2015
    May 2015
    April 2015
    March 2015

    Categories

    All

    RSS Feed

Powered by Create your own unique website with customizable templates.